
MEET BLOGGER KALKATROONA
(and learn how to make this stylish top)
About me
| Gender | Female |
|---|---|
| Industry | Arts |
| Introduction | welcome to kalkatroona. here, oona, a curvy specimen of the clan balloona, sews, drinks, plays, curses, creates, and generally has an excellent time. |
| Interests | sewing, working on my vintage sewing machines, singer featherweight 221, singer slant-o-matic 403A, painting, decorating, and generally creating. |
| Favorite Movies | the fisher king, jacob's ladder, bladerunner, moulin rouge, wedding crashers, the women. |
| Favorite Music | amos lee, radiohead, ray lamontagne, john legend, stevie wonder, prince (before he went crazy), peter gabriel, bjork, india aire, phoebe snow, the doobie brothers, dave matthews, steely dan, brad mehldau, the bad plus, the beastie boys, led zeppelin |
| Favorite Books | evidence of things unseen, a heartbreaking work of staggering genius, the death of vishnu, the three musketeers, the gunslinger series |


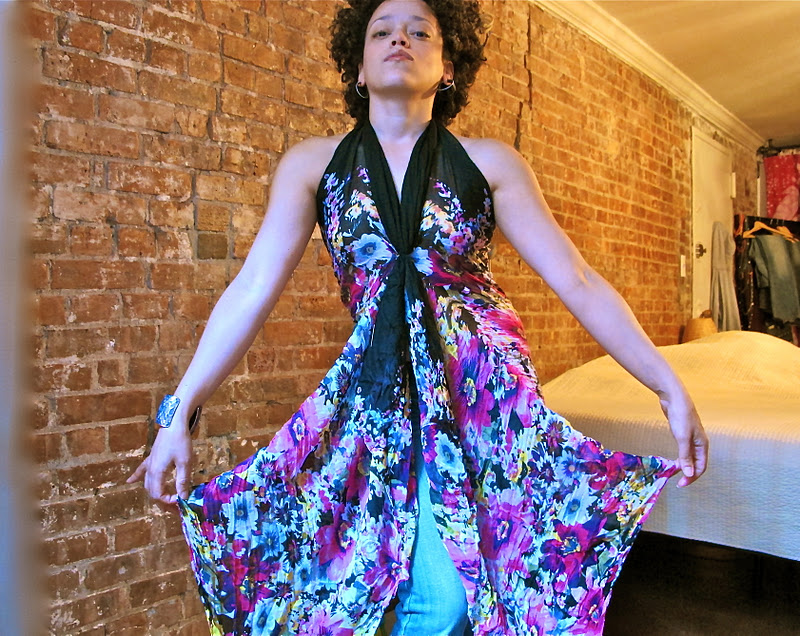
take your scarf and fold it in half lengthwise, finding the mid point. slice it right down the middle, finish your new raw edges, and sew it together again about 2/3 of the way up. this is now your center back seam. i sewed it up to where the black border hits. YOU ARE NOW DONE SEWING.
see those flaps hanging down in the second picture? they basically become your back facing! flip that jammy to your backside, center seam at center back, the open part of the seam facing up. grasp the upper ends of your scarf....

and pull them towards center front. wrap the ends around the back of your neck and tie-- i like to use a pretty pin from my vintage collection instead of a knot, but either way works.
then grab the scarf at waist, or just below bust, or wherever floats your boat, cinch it together, and stitch through all layers a couple times. if you make it loose enough, you can untie the neck and easily slip this over your head, as the back sits low.
(yeah, i know i said you're done sewing. i lied a little bit. you can use another pretty pin here and make me an honest woman. a button loop closure would also be grand. doesn't help the lying, but earns you extra fanciness points.)

the amount of back displayed depends on how high (or low) you sew up the center back seam.

i kind of feel like that chick on project runway that's been sewing for four months and always floats around in gauzy me made things. it's a great easy cover up for the summer, non? you can go from picnic at the beach to lobster dinner by the water!
Source: (oonaballoona)
xoxo
Blue
No comments:
Post a Comment